

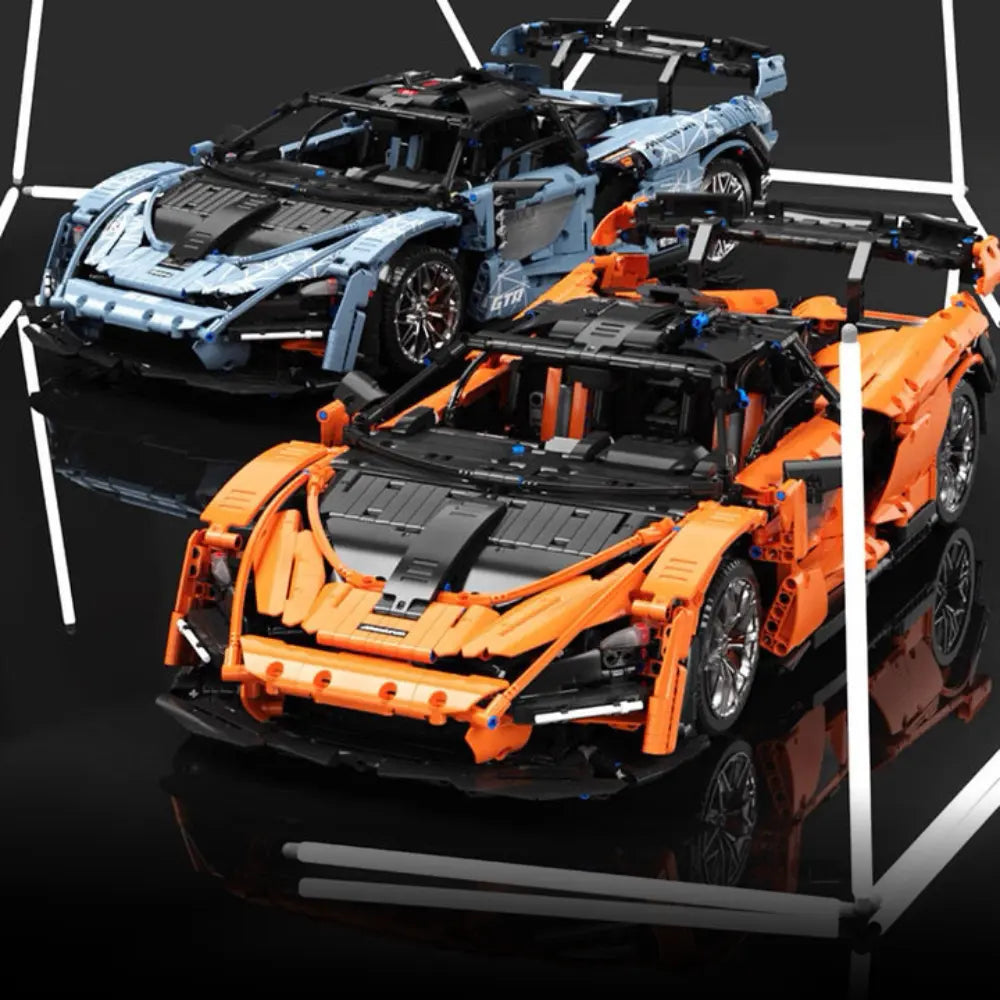
Adding remote control to a brick-built car is less about any single clever part and more about how a handful of components work together: a battery box, a receiver, one or more motors, and a remote. Get the relationships between them right and the car drives properly on the first try. Get them wrong — usually by underestimating torque, misjudging wiring length, or not accounting for line-of-sight — and the most common outcome is a car that “sort of” works: it drives but won’t turn cleanly, or it turns but stutters under load.
This guide covers the system end-to-end: how the control signal actually gets from your hand to the wheels, which components to choose for a given build, and how to wire and mount them so the car is reliable rather than fragile. For a breakdown of what each component actually does and why, see our companion guide, How Does LEGO Remote Control Work.
The system, in one paragraph
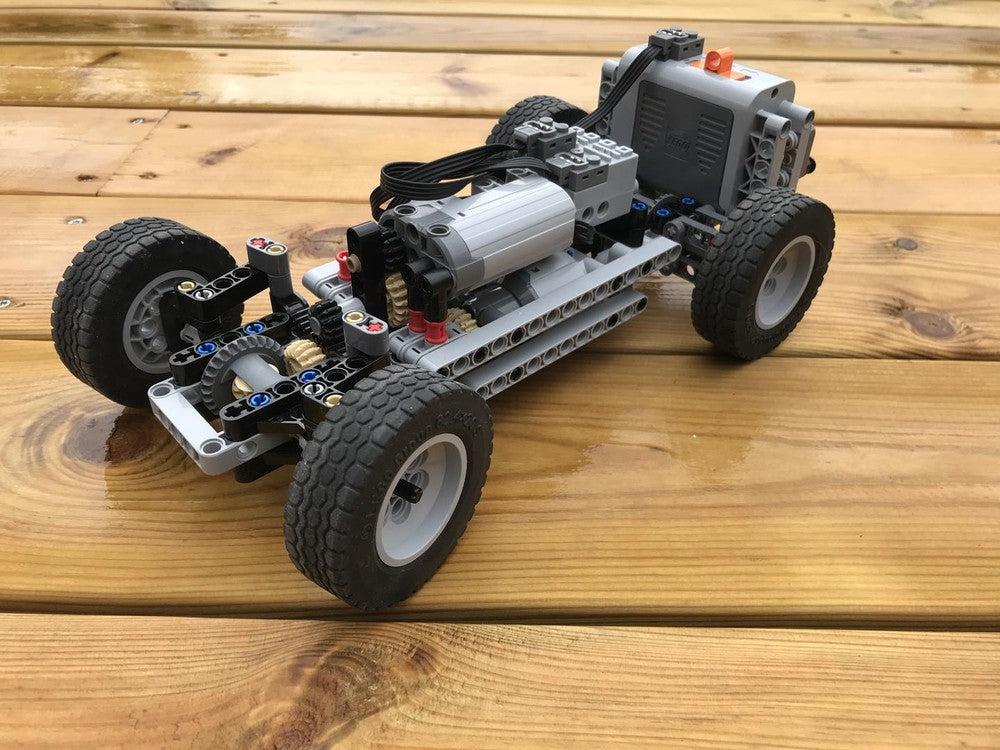
The remote control sends an infrared (IR) signal to a receiver mounted inside the model. The receiver is wired to the battery box (the power source) and to one or more motors. When you press a control on the remote, the receiver switches power to the relevant motor — either a drive motor, which spins continuously, or the servo steering motor, which moves to a set angle and holds it. That’s the entire loop: remote → receiver → battery box + motor(s). Everything else in this guide is about choosing the right version of each part and installing it so the loop stays reliable.
The one detail that trips up more first-time builds than anything else: this is infrared, not radio. The remote needs an unobstructed line of sight to the receiver. If the receiver is buried under bodywork, angled away from where you’ll be standing, or the remote is pointed off to the side, commands simply won’t arrive — the model won’t feel “broken,” it just won’t respond. Plan the receiver’s position and orientation before you close up the body, not after.
Choosing your components
Drive motor: match torque to weight, not power to enthusiasm
The motor range runs on a straightforward tradeoff between speed and torque:
- M Motor — fast, low torque. Good for small, light chassis where the wheels don’t need much force to turn — 1:24 or 1:14 builds, mostly.
- L Motor — medium speed, medium torque. The default choice for most mid-sized MOC cars.
- XL Motor — slow, high torque. Built for heavier chassis — most 1:8 and 1:10 scale builds fall into this category, especially anything with a lot of Technic reinforcement or added detailing.
- Monster Motor — the highest-output motor in the range. Reach for this on your largest, heaviest builds, or where a single XL motor is struggling to get the car moving from a standstill.
The mistake to avoid: picking a motor for top speed on paper rather than for the weight it will actually be pushing. A fast, low-torque motor on a heavy 1:8 chassis will strain, run hot, and drain the battery quickly without giving you a genuinely fast car — the wheels just don’t get enough turning force. If in doubt, size up. On larger or heavily-detailed builds, some builders use two drive motors (one per rear wheel, or both driving into a shared differential) rather than asking a single motor to do all the work.
Steering: the servo motor is not a drive motor
The Servo Steering Motor works completely differently from the drive motors above. It doesn’t spin continuously — it moves to a specific angle in response to the control input and holds that position until told to move again. That’s what lets it turn your front wheels left or right and keep them there through a corner, rather than spinning uselessly like a drive motor would.
Mount it rigidly. Any flex or play in the servo’s mounting translates directly into steering slop — the wheels won’t return to centre cleanly, and the car will wander in a straight line. This is one of the most common sources of “my RC car doesn’t drive straight” complaints, and it’s almost always a mounting problem, not a component fault.
Remote and receiver: match the channel count to what the car actually does
- Infra-Red Receiver is the fixed point — every build needs one.
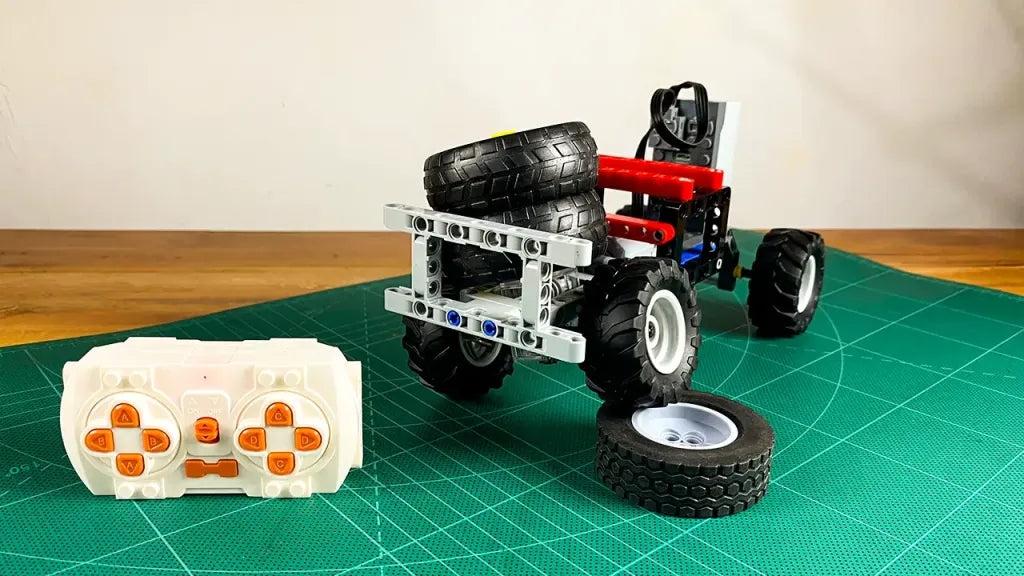
- 2-Channel IR Remote covers drive and steering only. This is enough for a straightforward RC car with no extra functions.
- 4-Channel IR Remote adds two more controllable channels — useful the moment your build does anything beyond drive-and-steer: opening doors, working lights, a lifting spoiler, and so on.
Decide this before you buy, not after: a 2-channel setup can’t be upgraded to control a third function later without swapping the whole remote/receiver pair.
One more thing worth knowing before you start: IR remotes in this system are generally on/off style controls — full speed forward, full speed reverse, full left, full right — rather than proportional, dial-style control. That’s a deliberate simplicity/reliability tradeoff, not a fault, but it’s worth setting expectations correctly: you’re building something closer to a responsive on/off RC car than a scale-accurate proportional one. If your build is drift-oriented, this actually works in your favour — sharp, decisive inputs suit drifting better than gentle proportional steering does. (More on this in our LEGO Drift RC Car guide.)
Power and wiring
- AA Battery Box or 9V AAA Battery Case — either works; choose based on the space available in your chassis and how easily you want to access it for battery changes. Put accessibility ahead of tucking it away neatly — you’ll be swapping batteries more than you expect during testing.
- Extension Wire (20/25/50cm) — plan this before wiring, not during. On larger chassis, the battery box, receiver and motors are often mounted well apart from each other, and running out of wire length mid-build usually means a partial teardown to reroute. Sketch roughly where each component will sit and measure the distances before you order.
- Current Control Switch — this is a separate, manual on/off switch, not part of the remote-control chain. Use it for anything you want permanently powered without tying up a remote channel — LED lighting is the most common case. Wire it independently of the receiver.
Building it: step by step
1. Plan component placement before you build the chassis around them. Sketch (even roughly) where the battery box, receiver, drive motor(s) and servo will sit. The receiver needs a position with an unobstructed line of sight out of the model; the battery box needs to be reachable; motors generally perform best mounted low and central in the chassis, which keeps the car’s weight balanced and its centre of gravity down.
2. Build the chassis with access points designed in. Leave a hatch, gap, or removable panel over the battery box specifically. Retrofitting battery access into a sealed body later is one of the more tedious fixes in this hobby — avoid it by planning for it now.
3. Mount the drive motor(s) and connect them to the wheels. If you’re direct-driving a single axle, keep the gear train short and rigid. If you’re running two motors into a differential, make sure both motors are securely fixed — any give in the mounting shows up immediately as inconsistent power to each wheel.
4. Mount the servo steering motor and connect the steering linkage. Test the servo’s full range of motion before attaching the wheels — you want to confirm it moves smoothly from full-left to full-right without binding, and returns cleanly to centre. Fixing a binding issue is far easier before the wheels and bodywork are in the way.
5. Install the receiver with line of sight in mind. Position it so the front (or whichever face receives the signal) has a clear path to where you’ll typically be standing when driving the model — not buried behind thick multi-layer bodywork.
6. Wire everything together: battery box → receiver → motors/servo. Route wiring away from anything that moves — gears, the steering linkage, suspension if your build has it. A wire that gets caught in a moving part will fail, usually at the worst moment. Use extension wire rather than stretching a shorter cable tight; tension on a connector is a common failure point.
7. Test each function individually before closing up the bodywork. Confirm forward, reverse, left, right (and any additional channels) all work correctly one at a time. It’s far easier to fix a reversed motor or a mis-seated connector now than after the body panels are on.
8. Do a full test drive, then adjust. Check the car tracks straight under power (steering slop shows up here), that the motor isn’t labouring or overheating on your test surface, and that the remote holds range and responsiveness from a normal driving distance. Small issues — a slightly loose servo mount, a wire with too little slack — are much easier to catch and fix at this stage than after final assembly.
Common issues and what’s usually causing them
- Car doesn’t respond at all: almost always a line-of-sight problem first, a battery orientation/contact issue second.
- Car drives but won’t turn cleanly: check the servo mount for play before suspecting the servo itself — loose mounting is the far more common cause.
- Motor struggles or runs hot: usually a torque mismatch — the motor is undersized for the chassis weight. Consider stepping up (M→L→XL→Monster) or adding a second drive motor rather than accepting reduced performance.
- Intermittent power or dropped connections: check wiring routed near moving parts for chafing, and connectors under tension from wire that’s slightly too short.
What to buy
The full range of components covered in this guide is in our Power Kits collection. If you’re building your first RC MOC, a sensible starting basket is: one battery box, one IR receiver, a 2-channel remote (or 4-channel if your build has extra functions), an L or XL drive motor sized to your chassis weight, and a servo steering motor.
If you’d rather start from a complete, already-designed RC car instead of building the electronics in yourself, browse our Remote Control Cars collection.

Leave a comment
This site is protected by hCaptcha and the hCaptcha Privacy Policy and Terms of Service apply.