



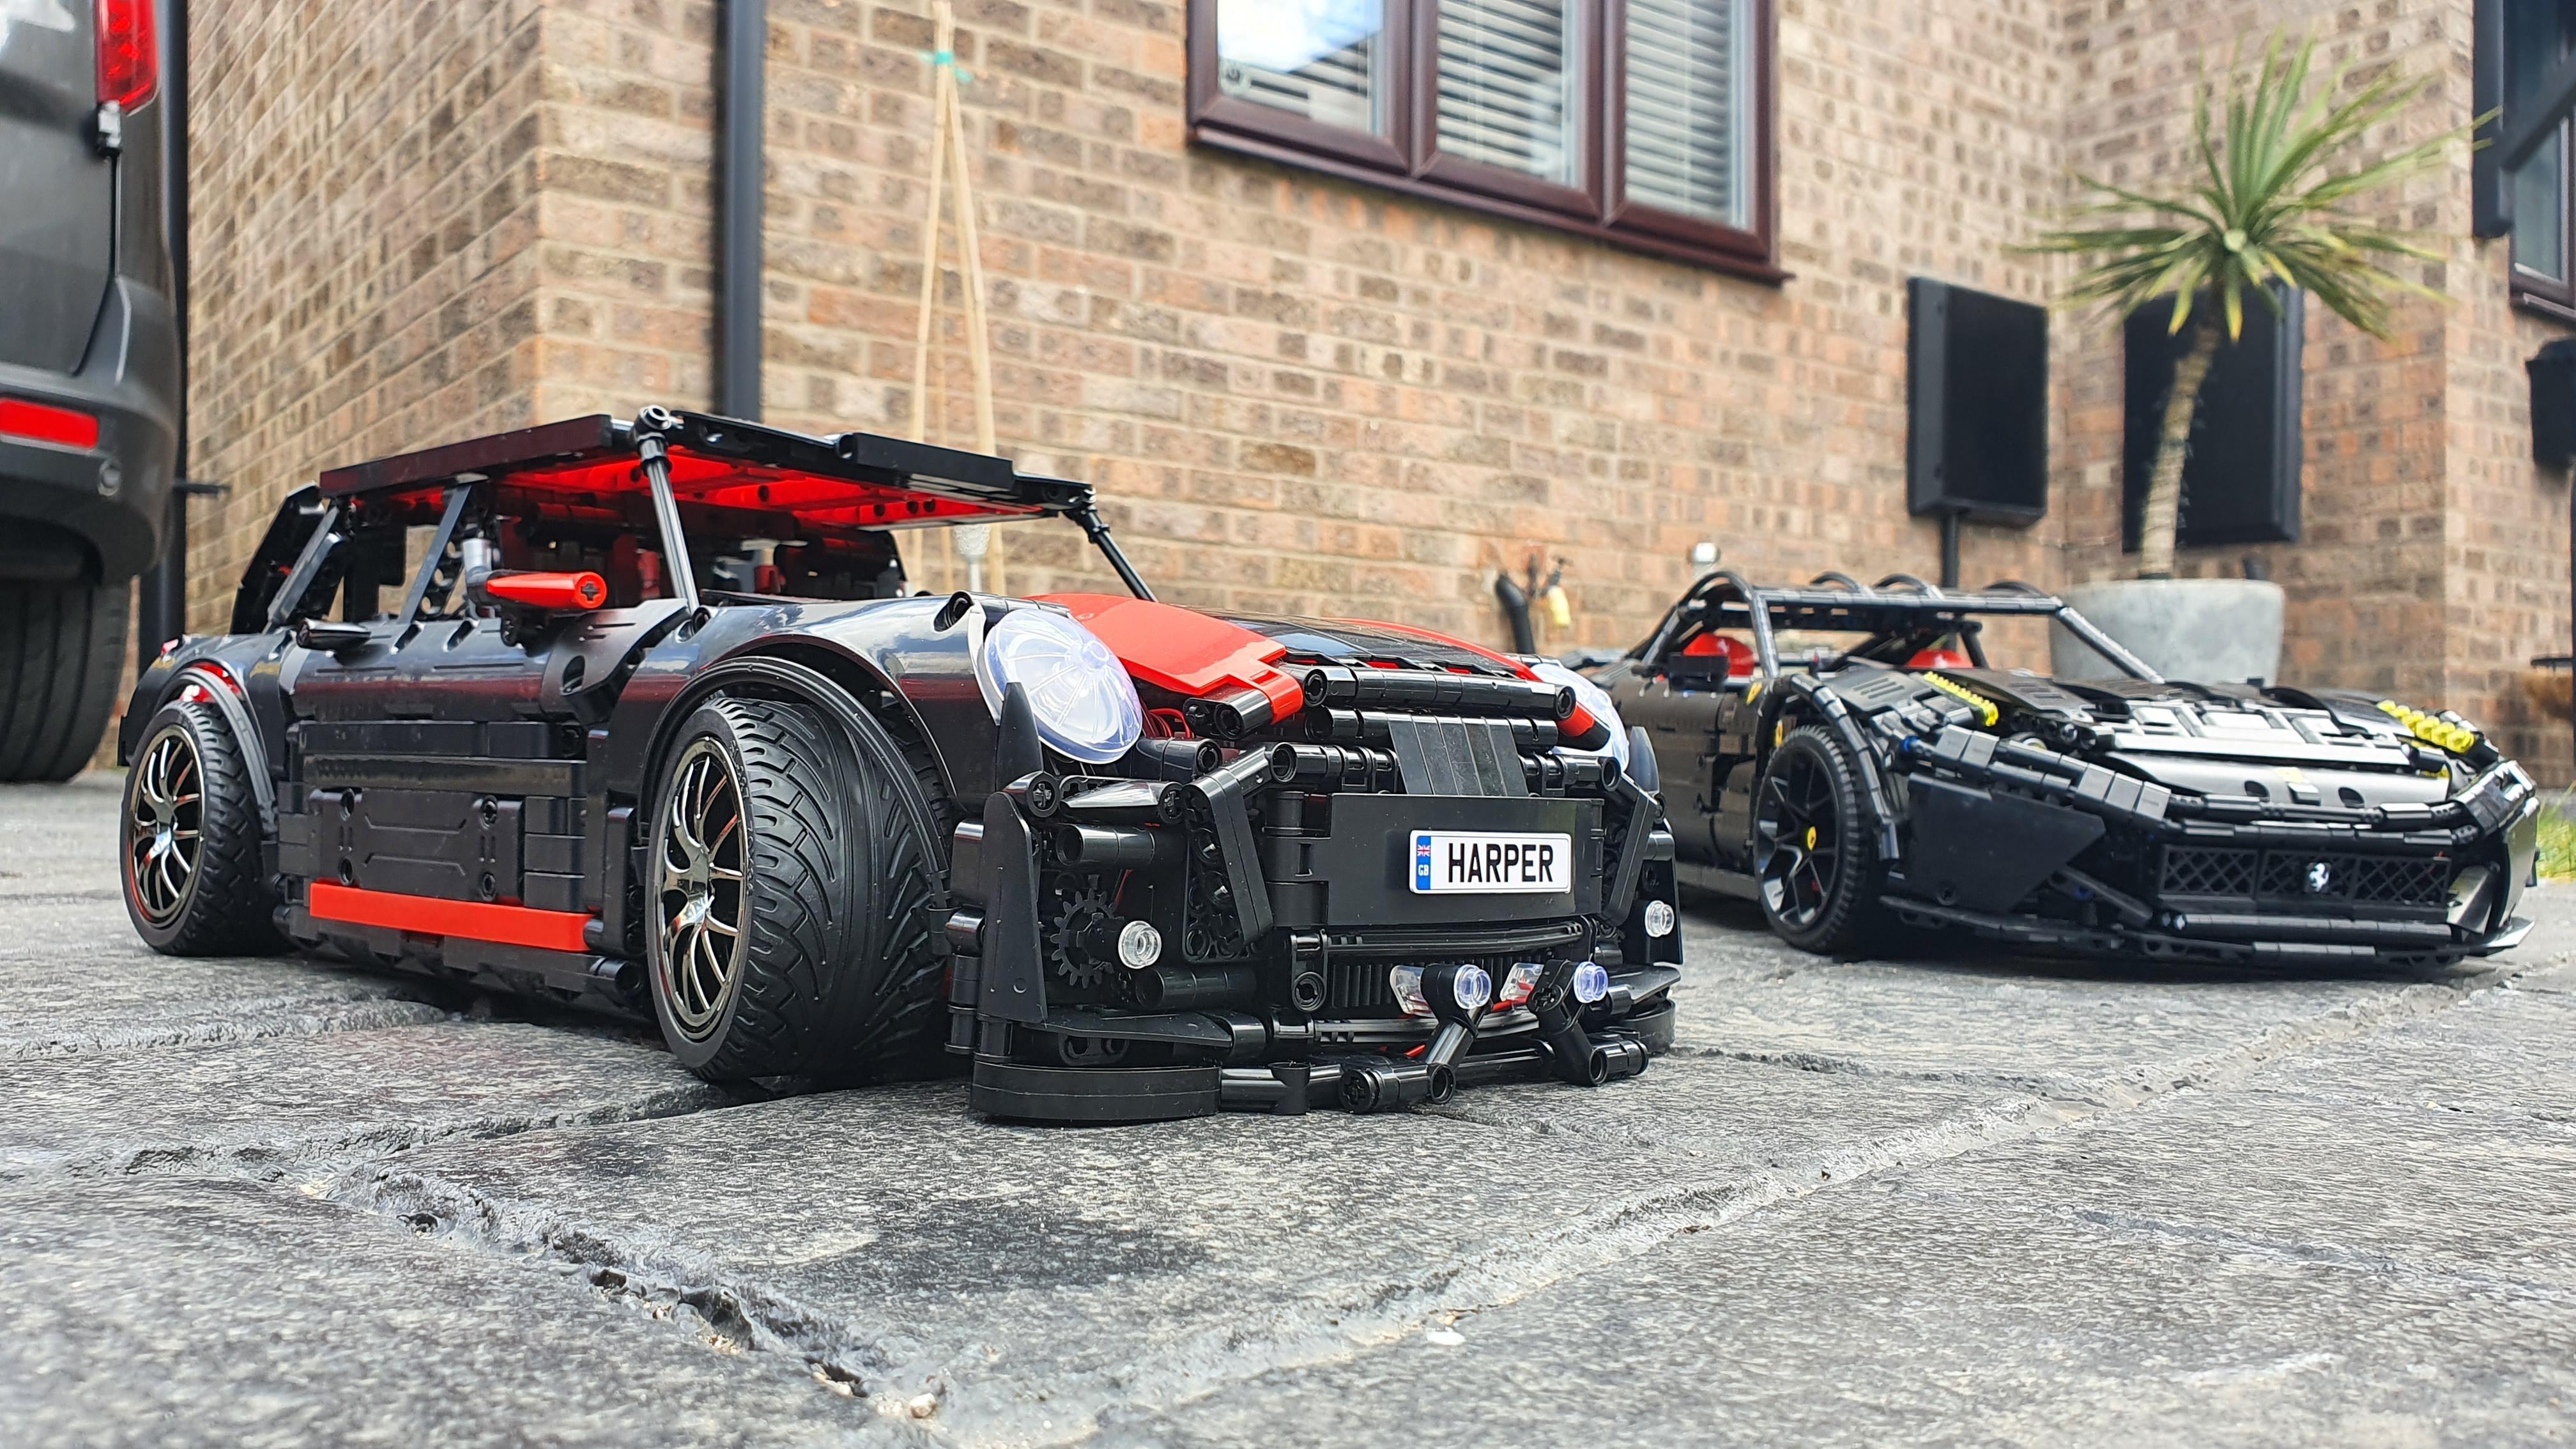
Building a MOC car well comes down to a handful of recurring problems every builder runs into: how to keep a large model rigid instead of flexing, how to gear a motor so it has enough torque to actually move the chassis, how to make steering that locks over enough angle to look right, and how to make body panels curve where a real car’s do. These aren’t advanced topics reserved for expert builders — they’re the everyday decisions behind every functional MOC, and getting the fundamentals right the first time saves a full rebuild later.
Decide what the build is for before you start
The single biggest factor in every decision below is what you actually want the finished model to do. A display-focused build, a build meant to genuinely drive around a floor or track, and a build meant to drift all pull the structural and mechanical choices in different directions — scale, suspension type, steering lock, and how much you reinforce the chassis all follow from this decision. Work it out first; everything else in this guide assumes you already know.
Structural integrity: why bigger builds flex, and how to stop it
Larger builds — particularly 1:8 and 1:10 scale — put far more stress on a frame than smaller ones, and a chassis that looked solid at a smaller scale can visibly flex once scaled up.
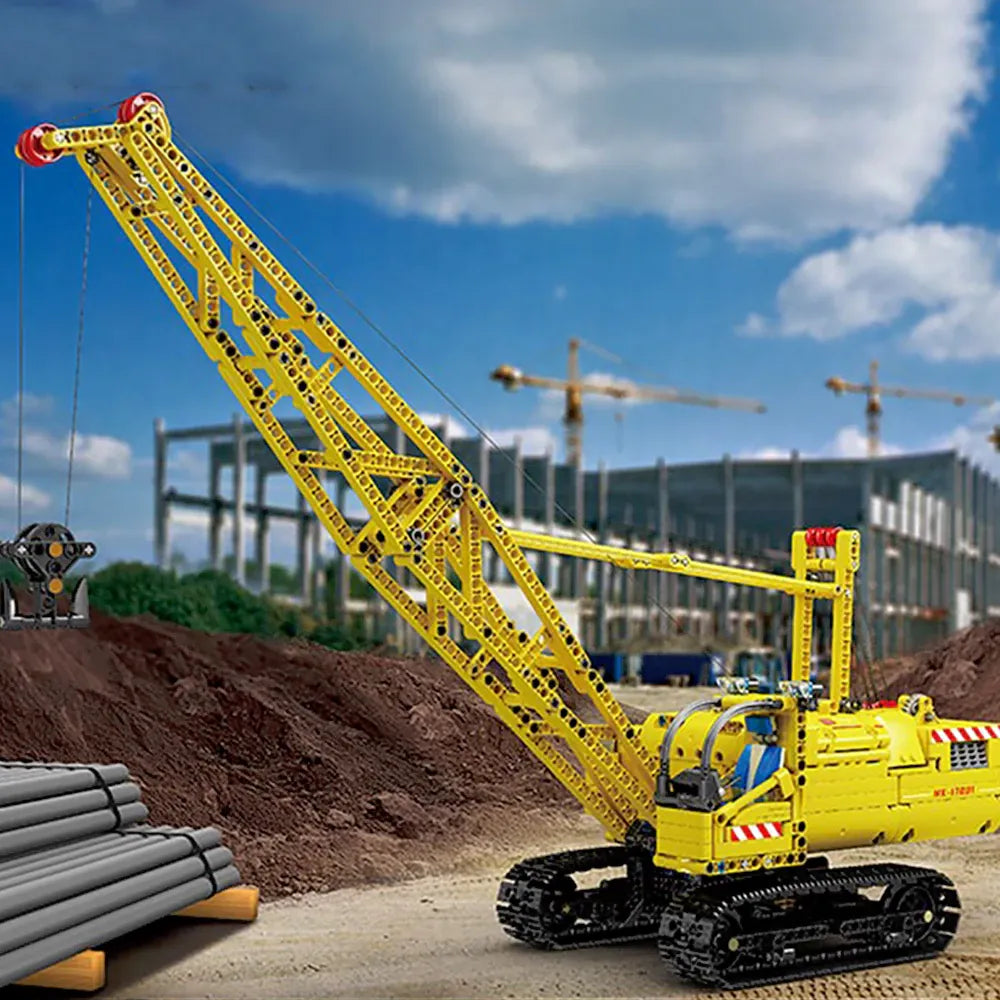
- Triangulate your frame. A rectangular frame of beams can rack (flex diagonally) under load; adding a beam across the diagonal to form triangles resists that flex far more effectively than adding more straight beams in the same direction.
- Beams for structure, not just plates. Technic-style beams and liftarms carry load through their length far better than flat plates do — use them as the actual skeleton of the chassis, and reserve plates and panels for surfaces and cosmetic coverage.
- Pin every structural joint. Beams connected only by friction at a single point are a common source of long-term wobble. Add a second pin near any joint that will carry real load — the steering mounts and suspension pivot points especially.
- Test under full weight, not empty. A chassis that feels rigid before the battery box, motors and body panels go on can behave differently once it’s carrying its actual working weight. Check for flex again once the build is closer to finished, not just at the bare-chassis stage.
Gearing: the mechanism behind torque, speed, and holding position
Gearing is what actually determines whether a motorised function works well or fights against itself.
- Gear ratio is a trade, not a free upgrade. Gearing down (using a small gear to drive a larger one) trades speed for torque — useful any time a motor is struggling to move a load. Gearing up does the opposite. This is the same speed/torque relationship that separates your M, L, XL and Monster drive motors from each other (see our remote control components guide) — gearing lets you fine-tune that balance further within a single motor.
- Worm gears are the tool for self-locking mechanisms. A worm gear reduces speed and increases torque dramatically, and — critically — it only turns one way: the output can’t drive the input backwards. That makes it the right choice for anything that needs to hold its position without power, like an opening bonnet, a lifting element, or a manual gear-selector mechanism.
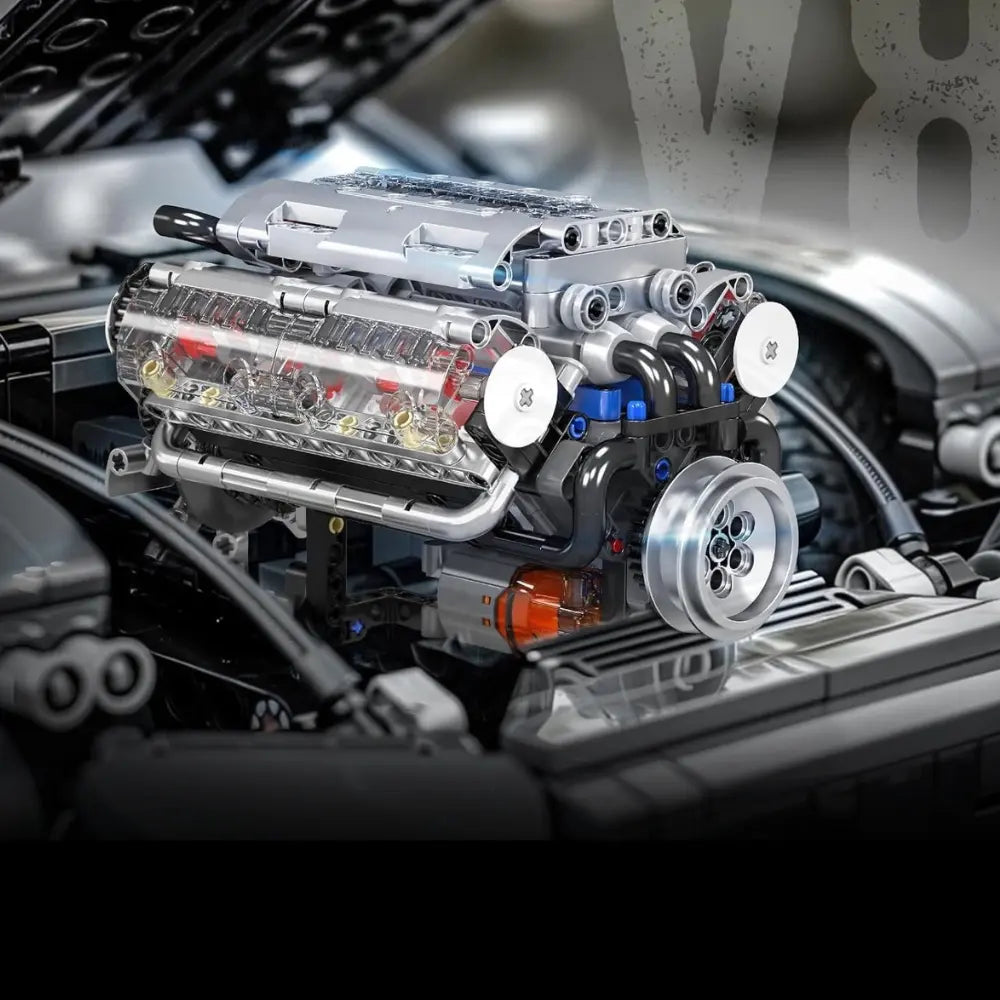
- Use bevel gears where drive direction needs to change. Any time power needs to turn a corner — from a horizontal motor shaft into a vertical wheel axle, for instance — bevel gears transfer that rotation with far less play (backlash) than improvised alternatives.
- Keep gear trains short and well-supported. Every extra gear in a chain adds a small amount of slop; a short, directly-supported train (each gear properly seated on a supported axle, not just pinned at one end) stays precise for longer and is less likely to skip teeth under load.
- Protect your motor with a clutch stage where the load is unpredictable. If a mechanism could ever jam or hit its physical limit (steering hitting full lock, a lifting arm reaching its top position), a slipping clutch gear between the motor and the mechanism prevents the motor from stalling or grinding its own gear teeth.
Differentials: only needed where you’re driving two wheels on one axle
If a single motor drives both wheels on the same axle directly, the car will fight itself in every corner — the outer wheel needs to travel further and spin faster than the inner one, and a solid axle can’t allow that. A differential solves this by letting both wheels receive power while spinning at different speeds. If your build only drives one wheel per axle, or uses independent motors per wheel, you don’t need one — it’s specifically a solution to the two-wheels-one-motor problem.
Steering: geometry matters more than it looks like it should
- Think about total steering lock, not just “does it turn.” How far the wheels can turn before something binds — tyre against wheel arch, or the linkage itself reaching its limit — sets your minimum turning circle. Drift-oriented builds in particular benefit from maximising this angle.
- Watch your scrub radius. As wheels turn, they sweep through an arc — widen the track slightly or thin the hub design if you notice tyres rubbing against bodywork at full lock, rather than accepting reduced steering angle as a fix.
- Compact the steering rack where you can. A shorter, more direct linkage between the servo and the wheels means less flex and less unwanted play (the “my steering feels loose” problem), which matters more as the model — and therefore the forces involved — gets bigger.
Suspension: build it to be tested under load, not admired empty
A pendular (single-pivot) suspension is simpler to build and tune than a multi-link setup, and is a reasonable default for most builds; multi-link suspension offers more realistic wheel movement at the cost of more parts and more tuning. Whichever you choose, test it with the model at or near its finished weight — suspension geometry that looks right on an empty chassis can sag or bottom out once the battery box, motors and body panels are actually installed.
Body panelling and SNOT: making brick-built curves look like car curves
Real car bodies are full of compound curves that flat plates and standard bricks can’t reproduce directly. A few recurring techniques bridge that gap:
- SNOT (Studs Not On Top) lets you build outward or downward-facing surfaces — panel lines, grilles, light clusters — that would be impossible with studs-up construction alone. It’s most valuable exactly where small surface detail sells the realism of a build: front and rear light clusters, grille texture, badge placement.
- Flex axles and flexible tubing are the standard solution for genuinely curved surfaces like wheel arches, where no combination of straight panels reads as a smooth curve.
- Mix panels and tiles for angular bodywork. Wedge-shaped panels combined with tiles for smooth cover plates read convincingly as sharper, more angular body lines — useful for anything with a more aggressive, creased design language rather than soft curves.
Plan your electronics layout before you build around it
This is a common gap between an average build and a well-finished one: decide where the battery box, receiver, and motors will live before you finalise the chassis and body shape around them, not after.
- Keep the battery box low and central where possible — it’s usually the heaviest single component, and its position materially affects the model’s balance.
- Route wiring away from any part that moves — gears, steering linkage, suspension travel.
- Design in a genuine access point (a hatch, a removable panel, or a body held on with a small number of pins rather than fully integrated) so you can swap batteries and troubleshoot wiring without a partial teardown.
Going further
These are the techniques that come up on nearly every functional MOC, but this is a deep hobby — differentials, planetary gearing, and custom steering systems in particular go much further than what’s covered here. The Unofficial LEGO Technic Builder’s Guide by Paweł “Sariel” Kmiec is the most complete reference the community has for going deeper into the mechanics behind all of the above, if you want to take any of these techniques further than a single build requires.


Leave a comment
This site is protected by hCaptcha and the hCaptcha Privacy Policy and Terms of Service apply.